计算机视觉作业五
完整代码见github: https://github.com/linjiafengyang/ComputerVision/tree/master/Ex5
迭代法求阈值
步骤如下:
- 计算灰度图的直方图分布
- 阈值threshold初始化为总灰度和的平均值
- 计算小于等于阈值threshold的灰度平均值t1
- 计算大于阈值threshold的灰度平均值t2
- 计算新阈值
threshold_new = (t1 + t2) / 2 - 比较两个阈值,若两个阈值相等,则返回阈值threshold,否则更新阈值从第3步继续循环
关键代码如下
1 | // 求阈值 |
OSTU法求阈值
步骤如下
- 初始化一些参数,比如像素点总数pixelsNum等,然后计算灰度图的直方图分布
- 从0到255开始循环:计算前景像素点总数和前景像素总灰度和
- 计算前景像素平均灰度
m1(前景像素点总数/前景像素总灰度和)和前景像素点数所占比例P1(前景像素点总数/像素点总数pixelsNum - 计算背景像素点总数和背景像素总灰度和
- 计算背景像素平均灰度
m2(背景像素点总数/背景像素总灰度和)和背景像素点数所占比例P2(背景像素点总数/像素点总数pixelsNum - 计算当前类间方差
temp_variance = P1 * P2 * (m1 - m2) * (m1 - m2),作比较更新类间方差和阈值
关键代码如下
1 | // ostu算法求阈值 |
图像分割结果
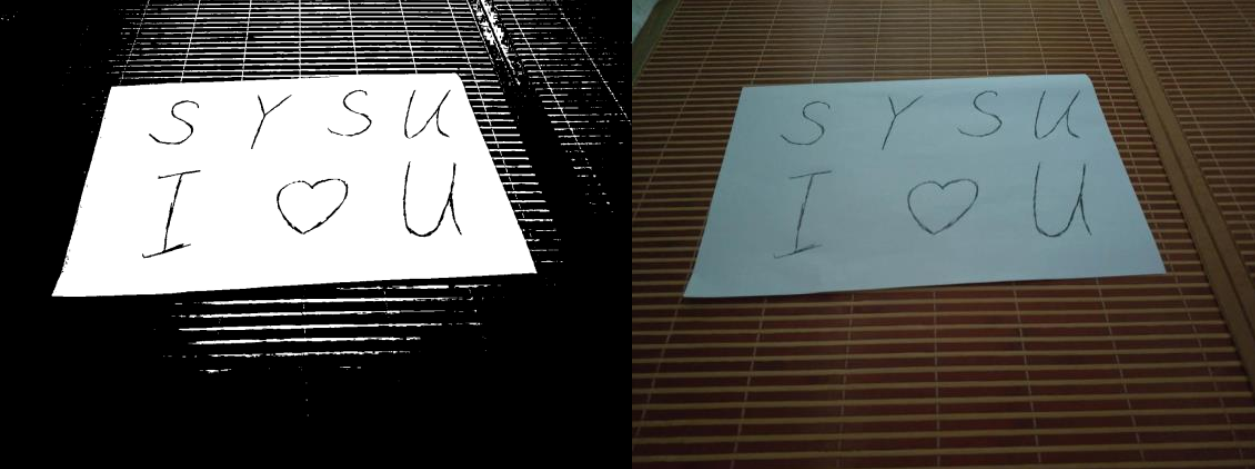
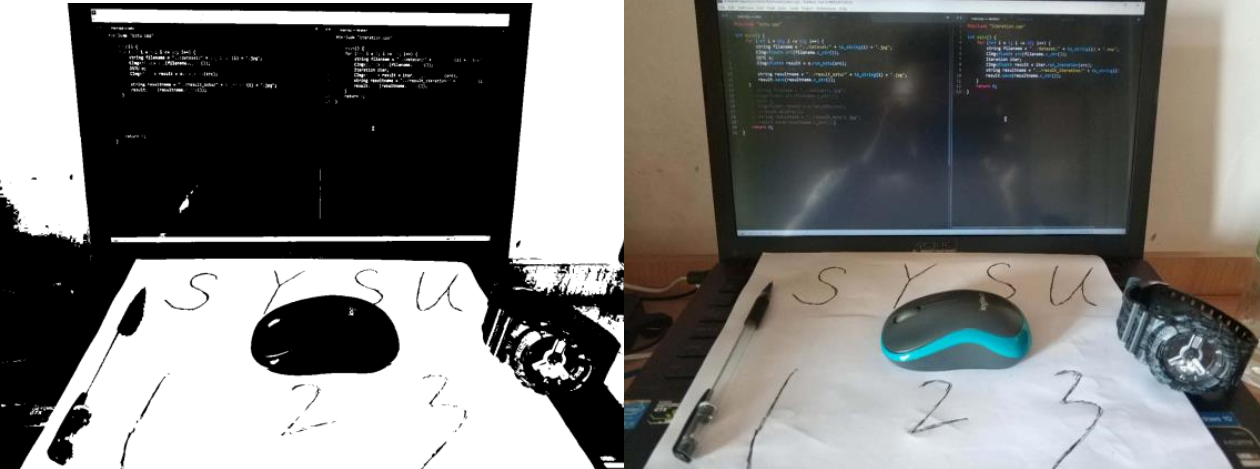
下面三张图左为原图右为分割结果图: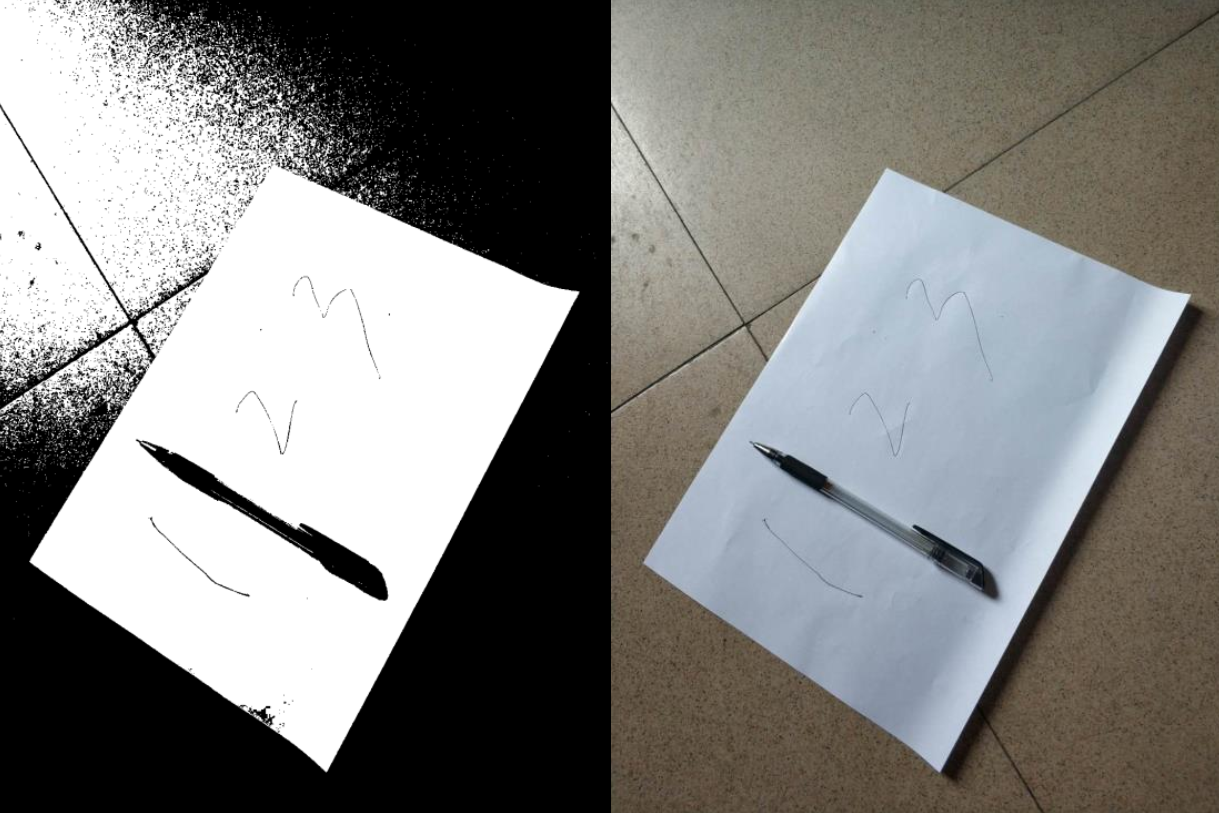
结果分析
其实,这两种算法都有一定的局限性。造成结果好坏的原因主要有:
- A4纸本身褶皱,导致有阴影形成,利用阈值法进行图像分割时会形成噪声,会被误认为是背景。
- 背景和前景区分不明显,即是说A4纸边缘和背景没有明显界面,如背景和A4纸一样偏白色时,此时做图像分割会非常困难。
- 拍照时光线也会对图像分割形成一定干扰。
- 算法本身的不足也对结果形成一定的影响。因为算法考虑的是全局阈值,全局阈值时针对整张图像而言,例如A4纸中的阴影(光线不足或者遮挡形成)会被误认为是小于等于阈值的背景。
- 根据上述几点,可以得出分割结果好的拍摄要求大体是:A4纸无折痕,无褶皱,投射到A4纸的光线要充足且均匀,即亮度要平均,不能在A4纸上形成某一块阴影,与此同时应尽量使得背景和前景区分明显,才能做一个效果比较好的图像分割。